As we transition into a new season, makeup trends evolve to reflect the changing environment and
aesthetic preferences. This season is all about balanced contrasts: natural skin with bold focal
points, matte finishes alongside strategic highlights, and a harmonious blend of vibrant and
subdued tones.
Key Trends to Watch
- Glowing Skin: The emphasis on healthy, radiant skin continues to dominate.
Think dewy finishes with strategic highlighting rather than all-over shine.
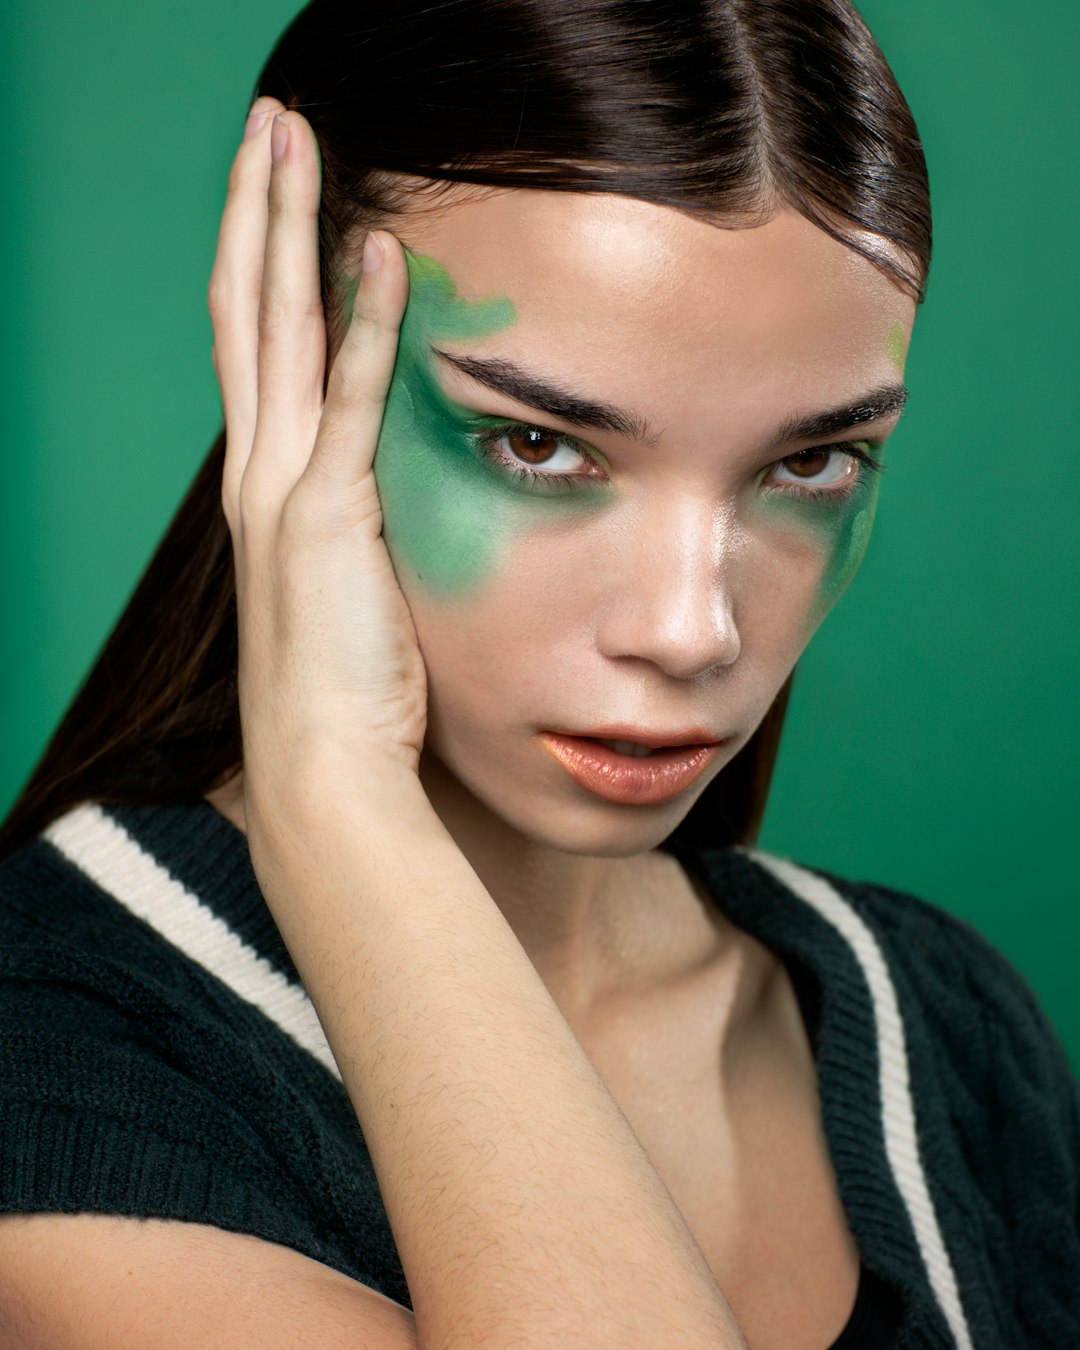
- Statement Eyes: Bold, graphic liner is making a comeback, with unexpected
color pops and unconventional shapes.
- Blush Revival: Blush is experiencing a renaissance, with draped application
techniques that extend beyond the apples of the cheeks for a more sculpted effect.
- Minimal Base: Lightweight, breathable foundations and tinted moisturizers
that allow your natural skin texture to show through.
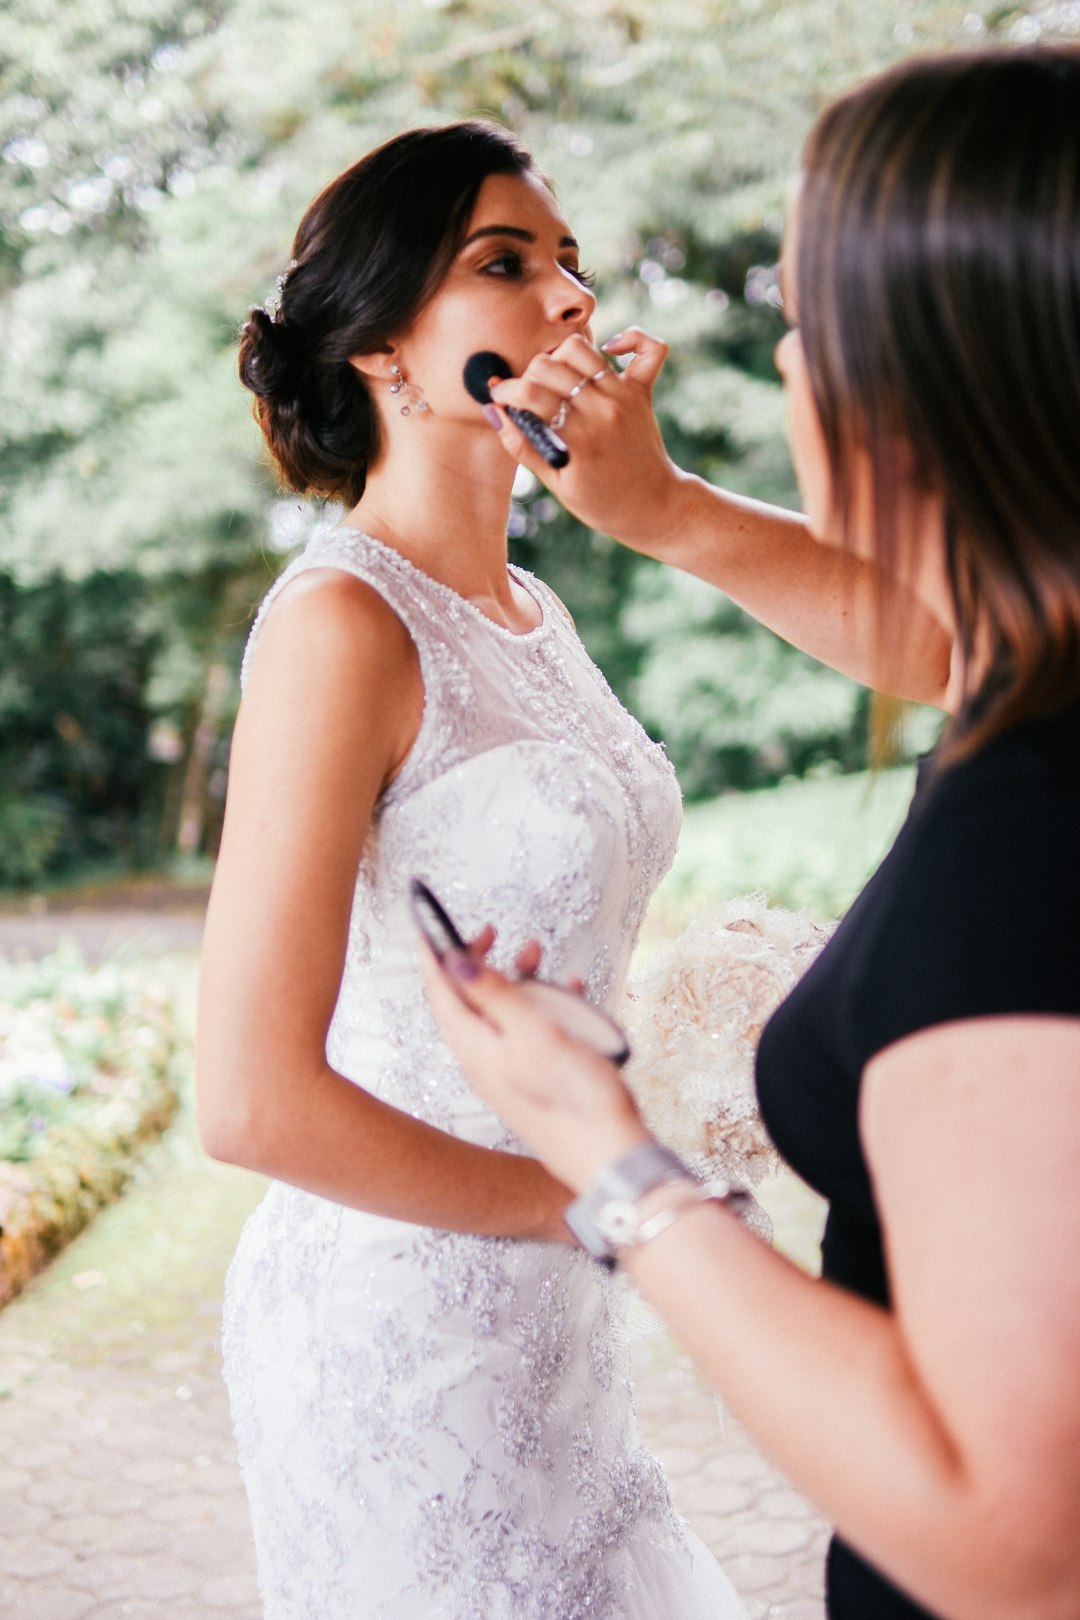
Your wedding day is one of the most photographed days of your life, and your makeup needs to be
flawless from the first look to the last dance. Creating a bridal makeup look that remains fresh
and beautiful throughout the day requires careful planning, quality products, and expert
application techniques.
Preparing the Canvas
Great bridal makeup begins with great skincare. Start a dedicated skincare routine at least three
months before your wedding day. Focus on hydration, exfoliation, and addressing any specific
concerns. The week before your wedding, avoid trying new products that might cause reactions.
Essential Products for Long-lasting Bridal Makeup
- Primer: Select a primer suited to your skin type to create a smooth base
and increase makeup longevity.
- Long-wear Foundation: Choose a formula that offers coverage while still
looking like skin, even after hours of wear.
- Waterproof Mascara: Essential for those emotional moments during the
ceremony.
- Setting Spray: A final mist of setting spray locks everything in place.
The secret to truly magnificent makeup isn't just in the application techniques or product
selection—it's in the skincare preparation. Even the most expensive foundation can look uneven
and patchy on poorly prepped skin. Let's explore the crucial skincare steps that create the
perfect canvas for your makeup.
The Pre-Makeup Skincare Routine
- Gentle Cleansing: Start with clean skin using a gentle cleanser appropriate
for your skin type.
- Exfoliation: Regular exfoliation (2-3 times weekly) removes dead skin cells
that can cause makeup to appear flaky.
- Targeted Treatment: Apply any serums or treatments that address specific
skin concerns.
- Moisturize: Hydrated skin is essential for smooth makeup application.
Choose a moisturizer that works with your skin type.
- Eye Cream: The delicate under-eye area requires special care to prevent
concealer from creasing.
- Primer: The final step before makeup, primer creates a smooth surface and
helps makeup adhere better.
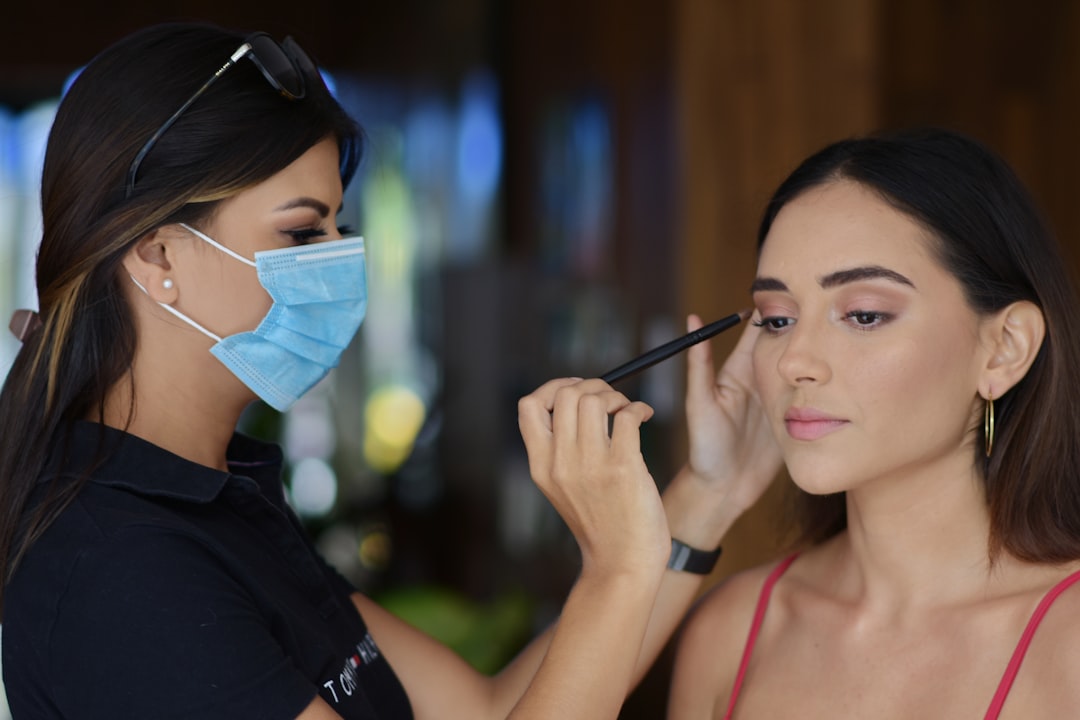
Eye makeup isn't one-size-fits-all. Understanding your eye shape is the first step to creating
flattering eye looks that enhance your natural beauty. Each eye shape has unique characteristics
that can be accentuated or balanced with the right techniques.
Identifying Your Eye Shape
Look straight into a mirror with your eyes open and relaxed. Observe how much of your iris and
lid are visible, the placement of your crease, and the overall proportion and positioning of
your eyes.
Customized Techniques for Common Eye Shapes
- Almond Eyes: Considered the most versatile shape. Enhance with a classic
cat-eye or gradient shadow from light to dark across the lid.
- Round Eyes: Create definition by applying darker shades on the outer
corners and blending upward toward the crease.
- Hooded Eyes: Focus on creating depth with matte shadows placed slightly
above the natural crease to create the illusion of a more defined crease.
- Monolid Eyes: Use shadow to create dimension, focusing on gradual color
transitions. Consider a thin liner that thickens toward the outer corner.
- Downturned Eyes: Lift the eye appearance by focusing darker colors on the
outer third of the upper lid, blending upward and outward.
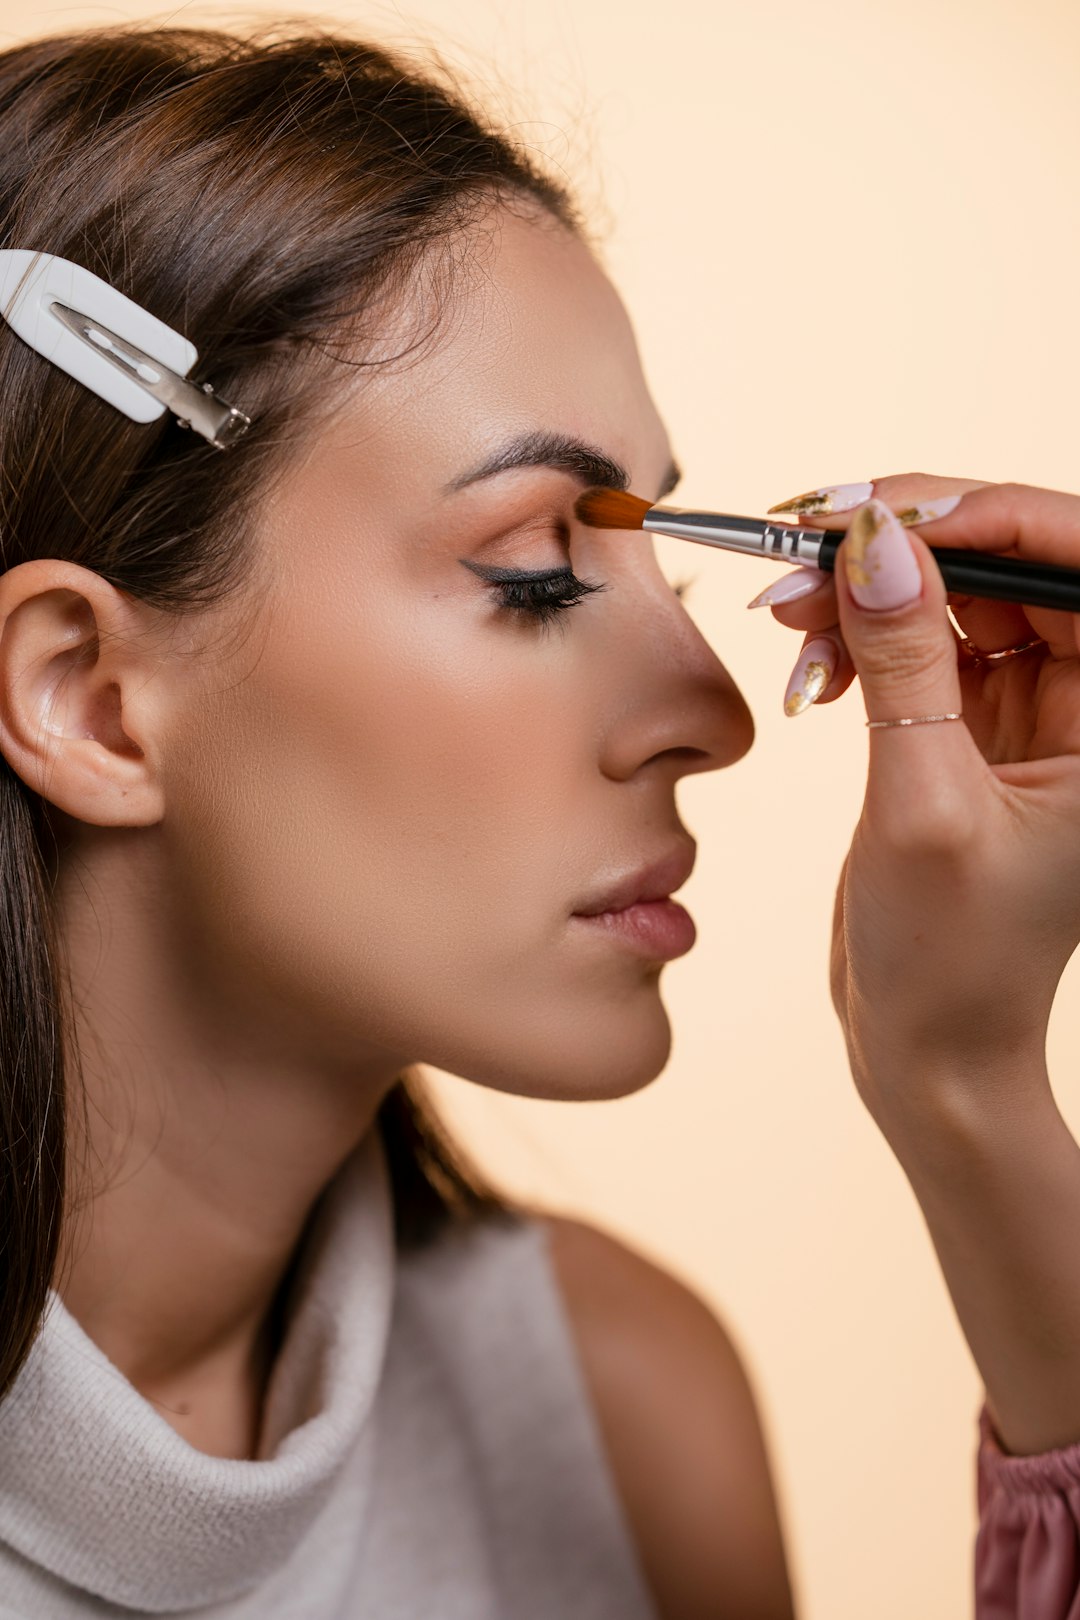
While skilled makeup artists can create magic with their fingers, the right brushes elevate
application to new levels of precision and blending. Understanding which brush to use for each
step of your makeup routine can dramatically improve your results.
Face Brushes: Creating the Perfect Base
- Foundation Brush: Opt for a dense, flat-topped brush for liquid foundation
or a fluffy, domed brush for powder formulas.
- Concealer Brush: Small, flat, and precise for targeted coverage around the
eyes and on blemishes.
- Powder Brush: Large, fluffy, and rounded to distribute setting powder
evenly without disturbing your base.
- Contour Brush: Angled and medium-sized to fit perfectly in the hollows of
your cheeks.
- Blush Brush: Medium-sized with a slight dome to apply color to the apples
of your cheeks.
Eye Brushes: Creating Dimension and Definition
- Eyeshadow Blending Brush: Fluffy and tapered to diffuse color in the
crease.
- Flat Eyeshadow Brush: Dense and rectangular to pack color onto the lid.
- Pencil Brush: Small and precise for detail work along the lash line or in
the outer corner.
- Angled Liner Brush: Thin and slanted for gel or powder liner application.